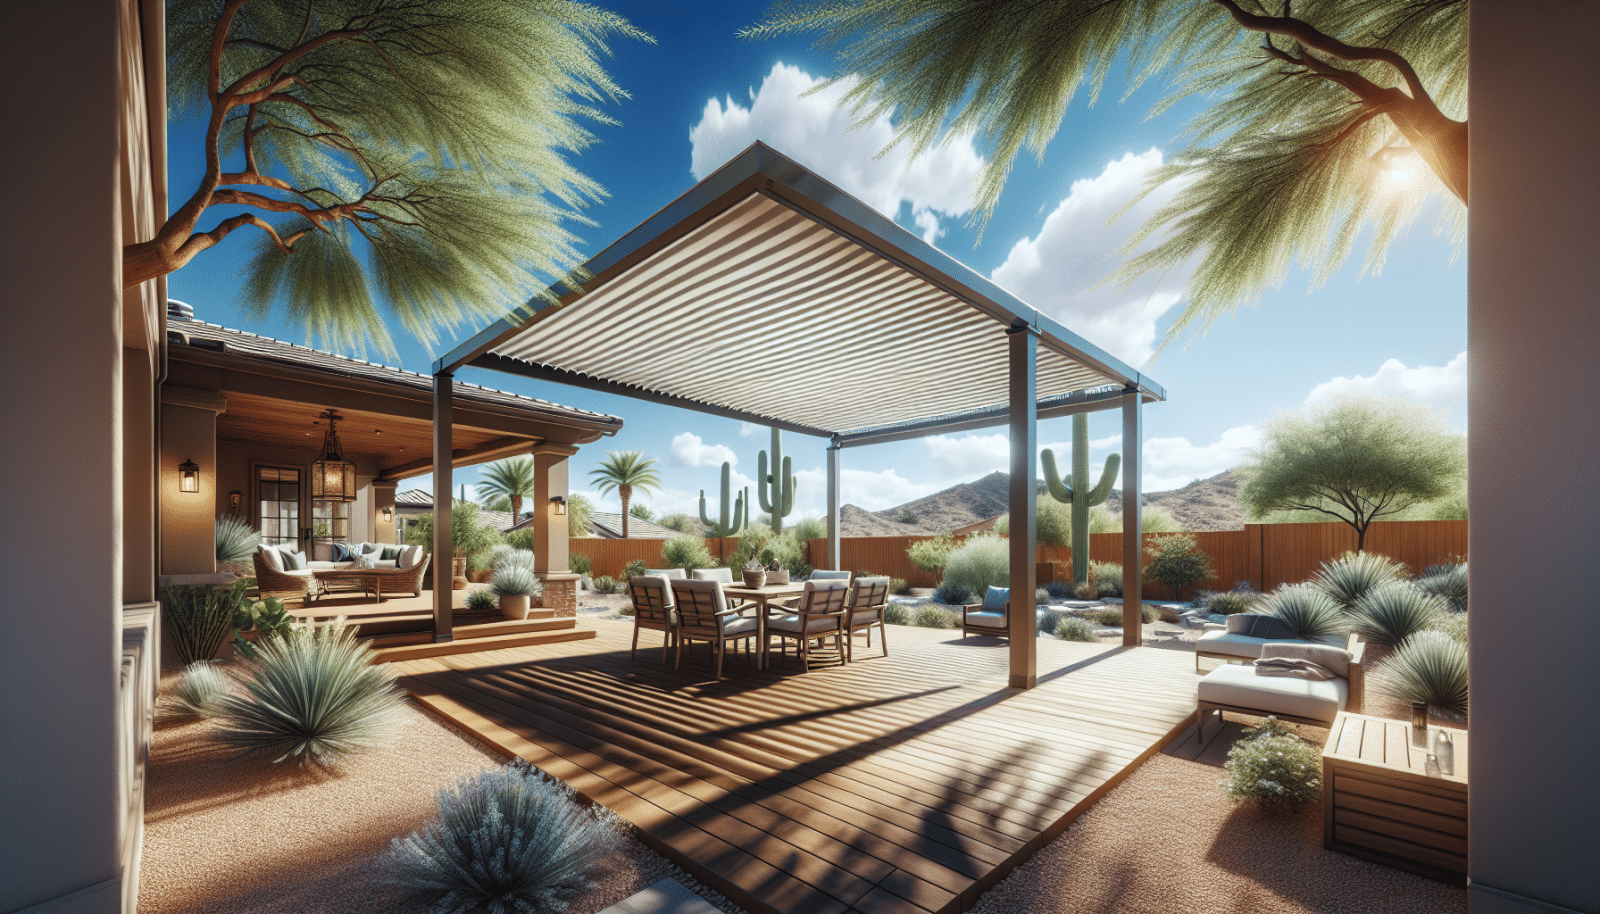
Patio shades are an essential addition for homeowners looking to create a comfortable outdoor space. They not only provide relief from the sweltering Arizona sun but also enhance the aesthetics of your patio. At Arizona Shade Sails, we specialize in delivering high-quality shade solutions. In this article, we’ll guide you through the 10 easy steps for a perfect patio shade Installation, ensuring you can enjoy your outdoor area to the fullest.
Contents
- 1 Step 1: Identify Your Needs
- 2 Step 2: Measure Your Area
- 3 Step 3: Select the Right Shade Sail
- 4 Step 4: Choose the Mounting Points
- 5 Step 5: Install Mounting Hardware
- 6 Step 6: Align the Shade Sail
- 7 Step 7: Attach the Shade Sail
- 8 Step 8: Adjust the Tension
- 9 Step 9: Double-Check All Connections
- 10 Step 10: Enjoy Your New Patio Shade
Step 1: Identify Your Needs
Before diving into the installation process, it’s crucial to identify what you need from your patio shade. Are you looking to cover a specific area, or do you need full coverage of the entire patio? Maybe you want a Design that complements your home’s exterior. Knowing your requirements will help us tailor the best solution for you.
Consider factors like the direction of the sun, the area you want to shade, and your budget. By understanding your needs upfront, the rest of the installation process will be smoother and more efficient.
Step 2: Measure Your Area
Accurate measurements are vital for a perfect installation. Use a tape measure to get the length and width of the area you want to cover.
Don’t forget to measure the height of existing structures like walls or poles. Having precise measurements helps in ordering the right Materials and ensures a snug fit of your new shade sail.
Step 3: Select the Right Shade Sail
Choosing the right shade sail is imperative to achieving both functionality and aesthetics. You’ll find various shapes and materials to select from.
Consider the color that will complement your outdoor decor. We recommend durable, UV-resistant fabrics that will withstand Arizona’s harsh sun and unpredictable weather conditions.
Step 4: Choose the Mounting Points
Your mounting points are the anchor for your shade sail. Common points include existing walls, trees, or specially-installed poles.
Make sure these points are sturdy and can withstand tension. The last thing you want is for your sail to sag or tear due to inadequate support.
Step 5: Install Mounting Hardware
Once you’ve selected your mounting points, it’s time to install the hardware. Use high-quality brackets, turnbuckles, and pad eyes to ensure your shade sail remains securely fastened.
- Brackets: Attach these to walls or existing structures to provide a strong base for your sail.
- Turnbuckles: These allow you to adjust the tension on your sail for a tight fit.
- Pad Eyes: Ideal for anchoring to walls or poles, ensuring stability.
- Snap Hooks: Quick and easy to use, these help in attaching the sail to the hardware.
- Rope: Useful for additional support, especially in windy conditions.
Step 6: Align the Shade Sail
Before securing your shade sail, align it to make sure it covers the intended area. Lay it flat and make any necessary adjustments.
This step ensures that your sail is positioned correctly, preventing any future repositioning which can be cumbersome.
Step 7: Attach the Shade Sail
Now that your shade sail is aligned, attach it to the mounting hardware. Start by securing each corner loosely.
Once all corners are attached, you can begin to tighten each connection to remove any slack. This creates a taut, crisp look and provides the best sun protection.
Step 8: Adjust the Tension
After the initial attachment, it’s important to adjust the tension of your shade sail. Use the turnbuckles to tighten the sail further.
Proper tension will prevent sagging and ensure that your shade sail remains effective in blocking sunlight.
Step 9: Double-Check All Connections
Go around and check all your connections to ensure everything is secure. Look for any signs of strain or weakness.
A thorough check can save you from future repairs and ensure that your shade sail lasts for years.
Step 10: Enjoy Your New Patio Shade
Congratulations! You’ve successfully installed your new patio shade. Now, it’s time to enjoy your transformed outdoor space.
Whether you’re hosting a family get-together or simply relaxing with a book, your new shade sail will provide the comfort and style you’ve been looking for.
Feel free to reach out to us by phone # 480-418-8438 or Request a Free Quote.


